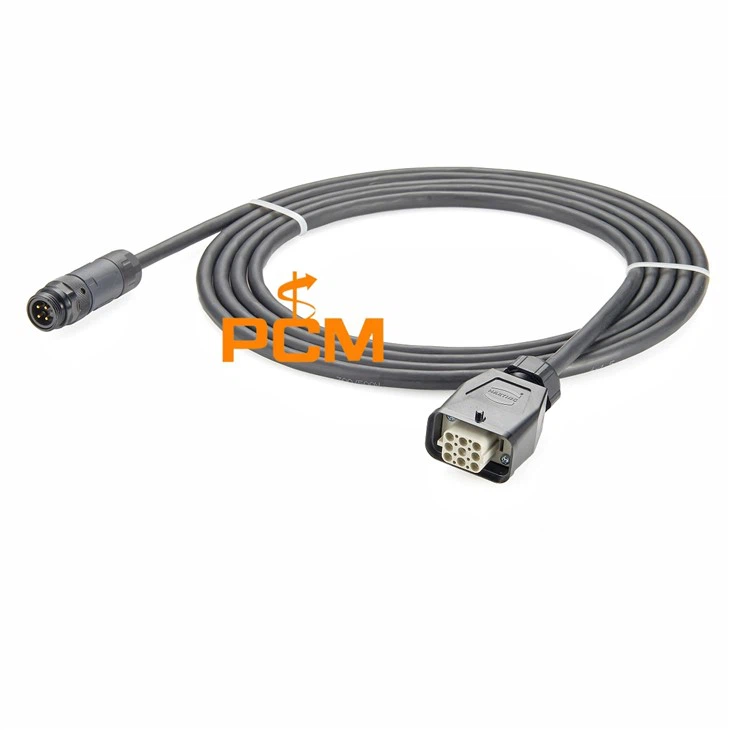

Hey there! As a supplier of m23 encoder cables, I've seen firsthand how important it is to label these cables properly for easy identification. In this blog post, I'm gonna share some tips and tricks on how to label your m23 encoder cables effectively.
Why Labeling Matters
First off, let's talk about why labeling your m23 encoder cables is such a big deal. When you're dealing with a bunch of cables in a complex system, it can be a real headache to figure out which cable goes where. A misconnected cable can lead to all sorts of problems, like system malfunctions, inaccurate data readings, or even damage to your equipment. By labeling your cables clearly, you can save yourself a ton of time and frustration, and make sure your system runs smoothly.
What to Include on the Labels
So, what should you put on your m23 encoder cable labels? Here are some key pieces of information that I recommend including:
- Cable Type: Clearly indicate that it's an m23 encoder cable. This helps anyone who's looking at the cable quickly identify what it is.
- Connector Types: Specify the types of connectors on each end of the cable. For example, if it's an Servo Motor Encoder Cable M23 To DB25, write that on the label. This makes it easy to see which devices the cable can be connected to.
- Pin Assignments: If possible, include the pin assignments for each connector. This can be really helpful when you're troubleshooting or making connections. You can use a simple diagram or a list to show which pins correspond to which signals.
- Length: Write down the length of the cable. This can be useful when you're planning your system layout or need to replace a cable.
- Serial Number or ID: Assign a unique serial number or ID to each cable. This makes it easier to track the cable's history, such as when it was installed, if it's been repaired, etc.
Labeling Materials
Now that you know what to put on your labels, let's talk about the materials you can use to create them. There are several options available, each with its own pros and cons:
- Adhesive Labels: These are probably the most common type of cable labels. You can find them in a variety of sizes, colors, and materials. Adhesive labels are easy to apply and can be printed with a regular printer or a label maker. Just make sure to choose a label that's durable and resistant to wear, tear, and environmental factors like moisture and heat.
- Heat-Shrink Labels: Heat-shrink labels are a great option for cables that are exposed to harsh conditions. These labels are made of a special material that shrinks when heated, creating a tight, protective seal around the cable. Heat-shrink labels are very durable and can withstand high temperatures, chemicals, and abrasion. However, they require a heat gun to apply, which can be a bit more complicated than using adhesive labels.
- Cable Sleeves: Cable sleeves are another option for labeling your m23 encoder cables. These sleeves are made of a flexible material that can be slipped over the cable and printed with the necessary information. Cable sleeves are easy to install and can be removed and reused if needed. They're also a good choice for cables that need to be labeled in multiple places.
Labeling Techniques
Once you've chosen your labeling materials, it's time to apply the labels to your cables. Here are some techniques that I recommend:
- Clean the Cable: Before applying the label, make sure the cable is clean and dry. Any dirt, oil, or moisture on the cable can prevent the label from adhering properly.
- Measure and Cut the Label: If you're using adhesive labels or cable sleeves, measure the length of the cable and cut the label to the appropriate size. Make sure to leave a little extra room at the ends for easy application.
- Apply the Label: For adhesive labels, carefully peel off the backing and apply the label to the cable, starting at one end and smoothing it out as you go. Make sure the label is straight and there are no air bubbles or wrinkles. If you're using heat-shrink labels, slide the label onto the cable and use a heat gun to shrink it into place. Follow the manufacturer's instructions for the correct temperature and duration of heating.
- Secure the Label: Once the label is applied, you may want to secure it further to prevent it from peeling off or getting damaged. You can use a small piece of tape or a cable tie to hold the label in place.
Organizing and Documenting Your Labels
Finally, it's important to keep track of your labeled cables and organize them in a way that makes sense. Here are some tips for doing that:


- Create a Cable Database: Keep a record of all your m23 encoder cables, including their serial numbers, labels, installation dates, and any other relevant information. You can use a spreadsheet or a database program to manage this information.
- Use Color-Coding: Consider using color-coding to group your cables by type, function, or location. This can make it easier to quickly identify and locate the cables you need.
- Label Cable Racks and Panels: In addition to labeling the individual cables, label the cable racks and panels where the cables are stored or connected. This helps to create a more organized and easy-to-navigate system.
Conclusion
Labeling your m23 encoder cables is an important step in ensuring the proper functioning and maintenance of your system. By following the tips and techniques outlined in this blog post, you can create clear, durable labels that will make it easy to identify and manage your cables. If you have any questions or need help with labeling your m23 encoder cables, feel free to reach out. We're here to assist you with all your cable needs, and we'd love to discuss your specific requirements for a potential purchase. Whether you're looking for Servo Motor Encoder Cable M23 To DB25, DB15 To M23 Servo Encoder Feedback Cable, or M23 To DB9 Servo Motor Encoder Cable, we've got you covered.
References
- Electrical Cable Labeling Guide, Various Industry Standards
- Cable Management Best Practices, Industry Publications