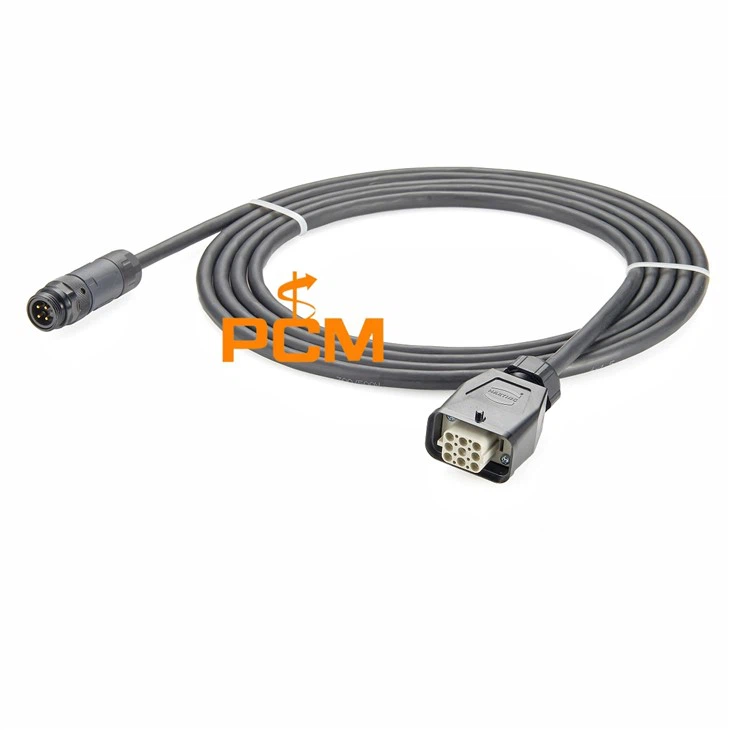

Measuring the length of panel mount cables is a crucial task, especially when it comes to ensuring the proper installation and functionality of various electrical and electronic systems. As a panel mount cables supplier, I've encountered numerous situations where accurate cable length measurement can make or break a project. In this blog post, I'll share some effective methods and considerations for measuring the length of panel mount cables.
Why Accurate Cable Length Measurement Matters
Before delving into the measurement methods, it's essential to understand why accurate cable length measurement is so important. Firstly, in industrial settings, incorrect cable lengths can lead to inefficient wiring layouts. This can result in cable clutter, which not only looks unprofessional but also increases the risk of cable damage due to entanglement or excessive bending. Secondly, in high - performance applications such as data centers or telecommunications, the length of a cable can affect signal quality. Longer cables may introduce more signal attenuation, leading to slower data transfer rates or even signal loss.
Tools for Measuring Panel Mount Cables
To measure panel mount cables accurately, you'll need the right tools. Here are some commonly used ones:
Measuring Tape
A simple and widely available tool, a measuring tape can be used for measuring straight cables. When using a measuring tape, ensure that the cable is laid out straight without any kinks or bends. Start from the end of the cable where the panel mount connector begins and measure all the way to the other end. Measuring tapes are suitable for cables of moderate lengths and are easy to use. However, they may not be very accurate for longer cables or cables with complex routing.
Cable Length Meter
A cable length meter is a more advanced tool specifically designed for measuring cable lengths. It works by sending a signal through the cable and measuring the time it takes for the signal to travel to the end and back. This method is highly accurate, even for long cables. Some cable length meters can also provide additional information such as cable impedance and the presence of any breaks or faults in the cable. However, these meters can be relatively expensive and may require some technical knowledge to operate.
Laser Distance Meter
For measuring the length of cables that are installed in hard - to - reach places or over long distances, a laser distance meter can be a useful tool. It works by emitting a laser beam to a target and measuring the time it takes for the beam to reflect back. By positioning the laser distance meter at one end of the cable path and aiming it at the other end, you can get an accurate measurement of the distance. This method is fast and can be used in various environments, but it may not be suitable for measuring cables that are coiled or have a lot of bends.


Measuring Straight Panel Mount Cables
Measuring straight panel mount cables is relatively straightforward. If you're using a measuring tape, lay the cable on a flat surface. Make sure it is fully extended and straight. Start the measurement from the edge of the panel mount connector. If the cable has a connector on both ends, measure from the outer edge of one connector to the outer edge of the other.
For example, if you're measuring a Profinet Ethercat Cat5e D - Code M12 To M12 Male Right Angled Connection Cable, place the cable on a table and stretch it out. Align the zero mark of the measuring tape with the edge of the first M12 connector and read the measurement at the edge of the second M12 connector.
Measuring Cables with Bends and Curves
Cables often need to be routed around obstacles or through complex pathways, which means they may have bends and curves. When measuring such cables, it's important to follow the actual path of the cable. One way to do this is to use a flexible measuring tape. Gently wrap the tape around the bends and curves of the cable, following its contour. This will give you a more accurate measurement of the actual length of the cable.
Another approach is to use a string. Place the string along the path of the cable, following all the bends and curves. Mark the end points of the cable on the string. Then, straighten the string and measure its length using a measuring tape. This method is particularly useful for cables with irregular shapes or when measuring in tight spaces.
Measuring Cables in Existing Installations
Measuring cables in existing installations can be more challenging. In some cases, the cables may be hidden behind walls, in conduits, or in other enclosed spaces. If possible, try to access the cable at both ends. You can use a cable length meter to measure the length without having to physically expose the entire cable.
If the cable is visible in some parts, you can use a combination of methods. For example, measure the straight sections with a measuring tape and estimate the length of the hidden sections based on the layout of the installation. You can also use a laser distance meter to measure the distance between the entry and exit points of the cable in a conduit or wall.
Considerations for Different Cable Types
Different types of panel mount cables may require different measurement considerations. For example, fiber optic cables are more delicate than copper cables. When measuring fiber optic cables, be careful not to bend them too sharply, as this can damage the fibers and affect signal transmission.
For audio cables like the RJ45 Plug To Two 6.35mm Plug Audio Cable For Axia, pay attention to the connectors. Make sure to include the length of the connectors in your measurement, as they can add a significant amount to the overall cable length.
Special Cases: Measuring Splitters and Adapters
In some cases, panel mount cables may be used in combination with splitters or adapters. For example, the M12 K - Code Y - Splitter H - Splitter Adapter can be used to split a single cable into multiple branches. When measuring cables with splitters, measure each branch separately. Start from the point where the splitter connects to the main cable and measure to the end of each branch. Then, add the length of the main cable from the panel mount connector to the splitter.
Double - Checking Your Measurements
After measuring the cable length, it's always a good idea to double - check your measurements. This can help you avoid errors that could lead to costly mistakes during installation. You can use a different measuring tool or method to verify the length. For example, if you initially measured the cable with a measuring tape, you can use a cable length meter to confirm the measurement.
Conclusion
Accurately measuring the length of panel mount cables is an essential step in any electrical or electronic installation project. By using the right tools and following the appropriate methods, you can ensure that your cables are the correct length, which will lead to a more efficient and reliable installation.
As a panel mount cables supplier, I understand the importance of providing high - quality cables of the right length. If you have any questions about measuring panel mount cables or if you're looking for the right cables for your project, I'd be more than happy to assist you. Feel free to reach out to discuss your requirements and start a procurement negotiation. We can work together to find the best solutions for your specific needs.
References
- Electrical Installation Handbook, Schneider Electric
- Cable Testing and Measurement Guide, Fluke Corporation