As a trusted supplier of m23 encoder cables, I understand the importance of proper installation to ensure optimal performance and reliability. In this blog post, I will guide you through the step-by-step process of installing an m23 encoder cable. Whether you're a professional technician or a DIY enthusiast, this guide will provide you with the necessary information to complete the installation successfully.
Step 1: Gather the Necessary Tools and Materials
Before you begin the installation process, it's essential to gather all the tools and materials you'll need. Here's a list of items you should have on hand:
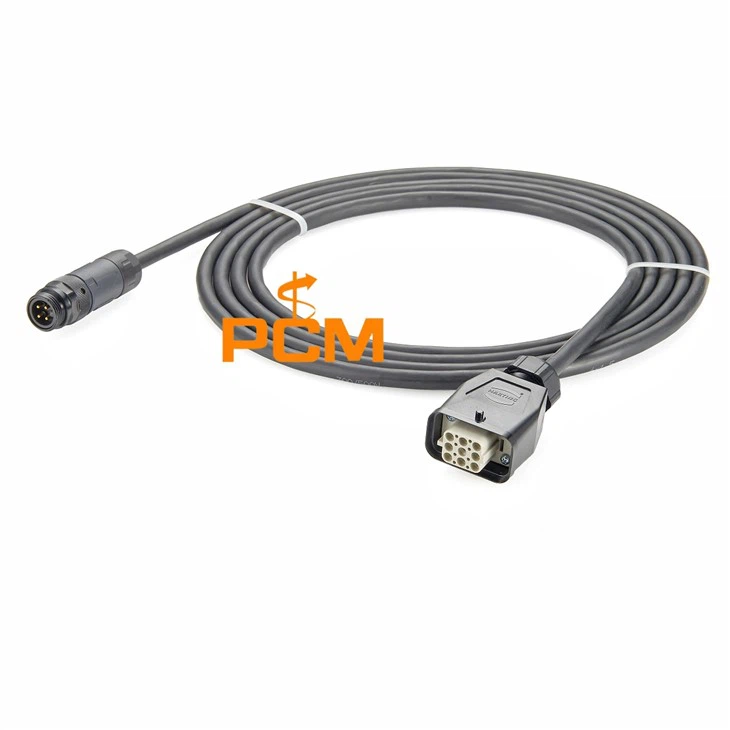
- M23 encoder cable: Make sure you have the correct type and length of cable for your application. You can explore our wide range of m23 encoder cables, such as the DB15 To M23 Servo Encoder Feedback Cable, 6FX5002-2CC11-1AD0 Servo Encoder Signal Feedback Cable, and M23 To DB9 Servo Motor Encoder Cable.
- Screwdriver: Depending on the type of connectors on your m23 encoder cable, you may need a Phillips or flathead screwdriver to secure the connections.
- Wire strippers: These are used to remove the insulation from the ends of the wires, allowing for proper connection.
- Electrical tape: This is used to insulate the connections and prevent any short circuits.
- Cable ties or clamps: These are used to secure the cable in place and prevent it from moving or getting damaged.
Step 2: Prepare the Work Area
Before you start working on the installation, it's important to prepare the work area. Make sure the area is clean, well-lit, and free of any obstacles. You should also ensure that the power to the equipment is turned off to avoid any electrical hazards.
Step 3: Identify the Connectors
The m23 encoder cable typically has two connectors: one on each end. The connectors are designed to fit specific devices, such as encoders, motors, or controllers. It's important to identify the connectors correctly to ensure a proper connection.
Step 4: Strip the Wires
Using the wire strippers, carefully remove the insulation from the ends of the wires. Make sure to strip only the necessary amount of insulation, leaving enough wire exposed to make a good connection.


Step 5: Connect the Wires
Once the wires are stripped, it's time to connect them to the appropriate terminals on the connectors. Refer to the wiring diagram provided with your m23 encoder cable or the equipment you're connecting it to. Make sure to connect the wires correctly to avoid any electrical problems.
Step 6: Secure the Connections
After the wires are connected, use a screwdriver to secure the connections. Make sure the screws are tightened properly to ensure a good electrical connection.
Step 7: Insulate the Connections
Once the connections are secured, use electrical tape to insulate them. Wrap the tape around the connections tightly to prevent any short circuits.
Step 8: Route the Cable
After the connections are insulated, it's time to route the cable. Make sure to route the cable away from any sources of heat, moisture, or mechanical stress. You can use cable ties or clamps to secure the cable in place and prevent it from moving or getting damaged.
Step 9: Test the Connection
Once the cable is routed and secured, it's time to test the connection. Turn on the power to the equipment and check if the encoder is working properly. If the encoder is not working, check the connections and make sure they are correct.
Step 10: Finalize the Installation
Once the connection is tested and working properly, it's time to finalize the installation. Make sure to clean up the work area and dispose of any waste materials properly. You should also label the cable and the connectors to make it easier to identify them in the future.
Tips for a Successful Installation
- Read the instructions: Before you start the installation process, make sure to read the instructions provided with your m23 encoder cable and the equipment you're connecting it to. This will help you understand the installation process and avoid any mistakes.
- Use the right tools: Using the right tools is essential for a successful installation. Make sure to use the tools recommended in the instructions or the ones you gathered in Step 1.
- Be careful with the wires: The wires in the m23 encoder cable are delicate and can be easily damaged. Make sure to handle them carefully and avoid bending or twisting them too much.
- Test the connection: Testing the connection is an important step in the installation process. Make sure to test the connection before finalizing the installation to ensure that everything is working properly.
Conclusion
Installing an m23 encoder cable may seem like a daunting task, but with the right tools, materials, and instructions, it can be a straightforward process. By following the steps outlined in this blog post, you can ensure a successful installation and optimal performance of your encoder. If you have any questions or need further assistance, please don't hesitate to contact us. We're here to help you with all your m23 encoder cable needs.
If you're interested in purchasing m23 encoder cables or have any questions about our products, please feel free to reach out to us. We're always happy to assist you with your procurement needs and discuss how our high-quality cables can meet your specific requirements.
References
- Manufacturer's instructions for m23 encoder cables
- Wiring diagrams provided with the equipment