As a supplier of Profibus cable connectors, I often receive inquiries from customers about how to connect these connectors to their devices. In this blog post, I'll share a comprehensive guide on this topic, which will help you complete the connection process smoothly and efficiently.


Understanding Profibus Cable Connectors
Before we start the connection process, it's essential to understand what Profibus cable connectors are and their types. Profibus is a standard for fieldbus communication in automation technology. It allows devices such as sensors, actuators, and controllers to communicate with each other over a network.
There are different types of Profibus cable connectors available in the market, each designed for specific applications. For example, the Profibus DP Connector Programming Port is used for programming and configuration purposes. It provides a convenient way to connect programming devices to the Profibus network.
Another important type is the Profibus - PA Profibus - FMS Terminating Resistor. Terminating resistors are crucial in a Profibus network as they prevent signal reflections, which can cause communication errors. They are usually installed at the ends of the bus line.
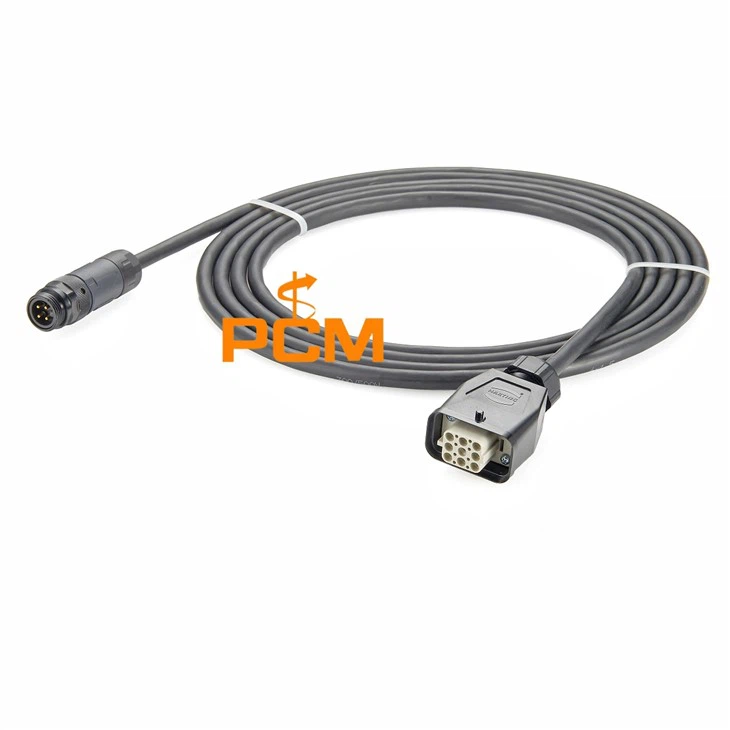
The Profibus D - Sub To M12 Programming Connector is designed to convert between different connector types, allowing for greater flexibility in network design.
Pre - connection Preparations
Gather the Necessary Tools
To connect a Profibus cable connector to a device, you'll need the following tools:
- Cable strippers: These are used to remove the outer insulation of the Profibus cable, exposing the inner conductors.
- Crimping tool: A proper crimping tool is essential for making a secure connection between the connector and the cable.
- Screwdriver: Depending on the type of connector, you may need a screwdriver to tighten screws or secure the connector to the device.
Select the Right Connector
Choose a connector that is compatible with your device and the Profibus network. Consider factors such as the type of device (e.g., sensor, actuator), the network topology (e.g., linear, star), and the communication requirements.
Check the Cable
Inspect the Profibus cable for any damage. Make sure the cable is of the correct type and length for your application. A damaged cable can lead to poor communication or even network failure.
Step - by - Step Connection Process
Step 1: Prepare the Cable
- Use the cable strippers to carefully remove about 10 - 15 mm of the outer insulation from the end of the Profibus cable. Be careful not to damage the inner conductors.
- Inside the cable, you'll usually find two shielded conductors (usually colored red and green) and a shielding layer. The red and green conductors are the data lines, while the shielding layer helps to reduce electromagnetic interference.
Step 2: Prepare the Connector
- If your connector has a removable insulation displacement contact (IDC) or crimping part, separate it from the main body of the connector.
- For IDC connectors, make sure the IDC contacts are clean and undamaged. For crimping connectors, check the crimping area to ensure it can properly hold the cable conductors.
Step 3: Connect the Conductors
- IDC Connectors: Place the prepared cable into the IDC connector. Align the red and green conductors with the corresponding IDC contacts. Then, use a suitable tool to press down on the IDC contacts, which will cut through the insulation of the conductors and make an electrical connection.
- Crimping Connectors: Insert the stripped ends of the red and green conductors into the appropriate crimping sections of the connector. Use the crimping tool to apply pressure and secure the conductors to the connector. Make sure the crimp is tight and there is no loose connection.
Step 4: Connect the Shielding
- If the connector has a shielding connection point, connect the shielding layer of the cable to it. This can usually be done by wrapping the shielding layer around a metal part of the connector and then tightening a screw or using a special shielding clamp.
Step 5: Reassemble the Connector
- If you separated the IDC or crimping part from the main body of the connector earlier, now is the time to reassemble them. Make sure all parts are properly aligned and tightened.
Step 6: Connect the Connector to the Device
- Locate the Profibus port on your device. It may be a D - sub, M12, or other type of connector.
- Align the connector on the cable with the port on the device and insert it carefully. If the connection is a screw - type, use the screwdriver to tighten the screws to ensure a secure connection.
Testing the Connection
After connecting the Profibus cable connector to the device, it's important to test the connection to ensure proper communication.
- Visual Inspection: Check all connections for any signs of looseness or damage. Make sure the cable is not pinched or bent in a way that could cause problems.
- Communication Test: Use a Profibus diagnostic tool or a programming device to check if the device can communicate with other devices on the network. If there are communication errors, check the connection again, including the cable, connector, and terminating resistors.
Troubleshooting Common Issues
Signal Interference
- If you experience signal interference, check the shielding connection. Make sure the shielding layer of the cable is properly connected to the connector and that the connector is grounded correctly.
- Also, check the routing of the cable. Avoid running the Profibus cable near high - voltage cables or other sources of electromagnetic interference.
Communication Errors
- Communication errors can be caused by loose connections, incorrect terminating resistors, or damaged cables. Check all connections and make sure the terminating resistors are installed correctly at the ends of the bus line.
- If the problem persists, try replacing the cable or the connector.
Conclusion
Connecting a Profibus cable connector to a device is a relatively straightforward process if you follow the right steps. By understanding the different types of connectors, preparing the necessary tools, and following the step - by - step connection process, you can ensure a reliable and efficient Profibus network.
If you are in the market for high - quality Profibus cable connectors or need further assistance with your Profibus network, feel free to reach out to us. We are here to help you with all your Profibus connection needs.
References
- "Profibus Handbook" by Siemens AG
- "Fieldbus Technology Handbook" by Peter Welander